In my previous article on home remodeling series you already learned how with the help of just a white paint I decided drastically to improve a room which latter might become our bedroom in our rural house. Haven't red that article yet? Go ahead and see it: Room One - Wall and Ceiling Painting with Water Based Paint
Now it was turn for another room (kitchen) to put some facelift on, but before that we had to clean up the mess, remove all the junk and... paint.
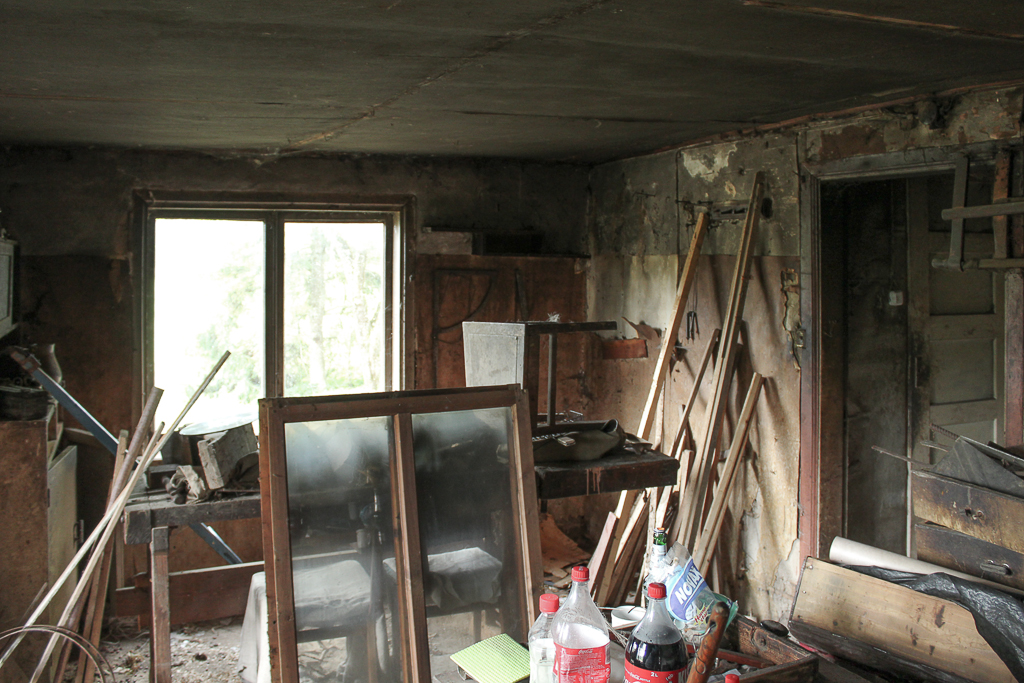
Kitchen loaded with junk
As you can see from above picture both walls and ceiling are covered with soot, Soot is coming from the Kitchener.
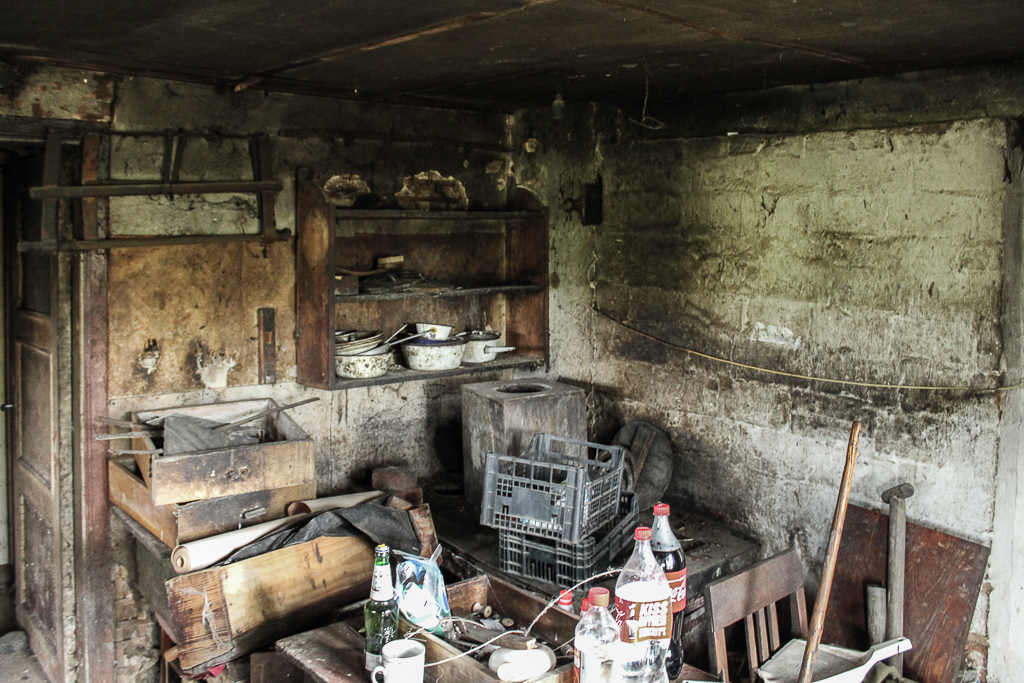
There is a stove actually
So we spent about a day just to getting rid from all that junk, so we can get actually access to walls and ceiling.
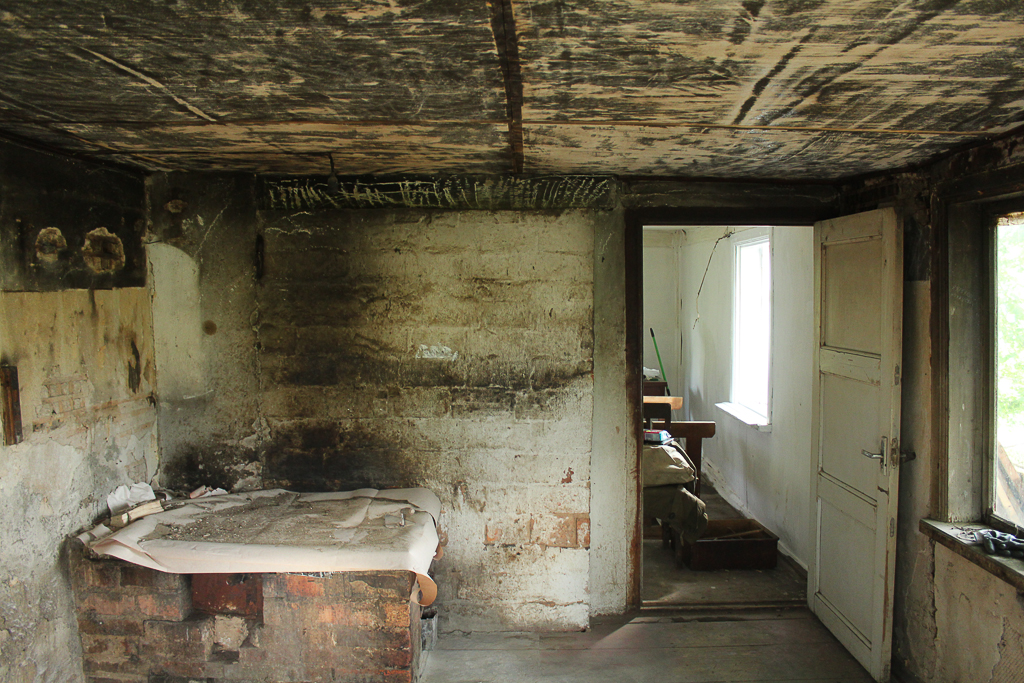
Our kitchen
I scrapped soot from ceilings, covered the stove with some old wallpapers I found inside the house.
In the background you can see already white painted walls of first room.
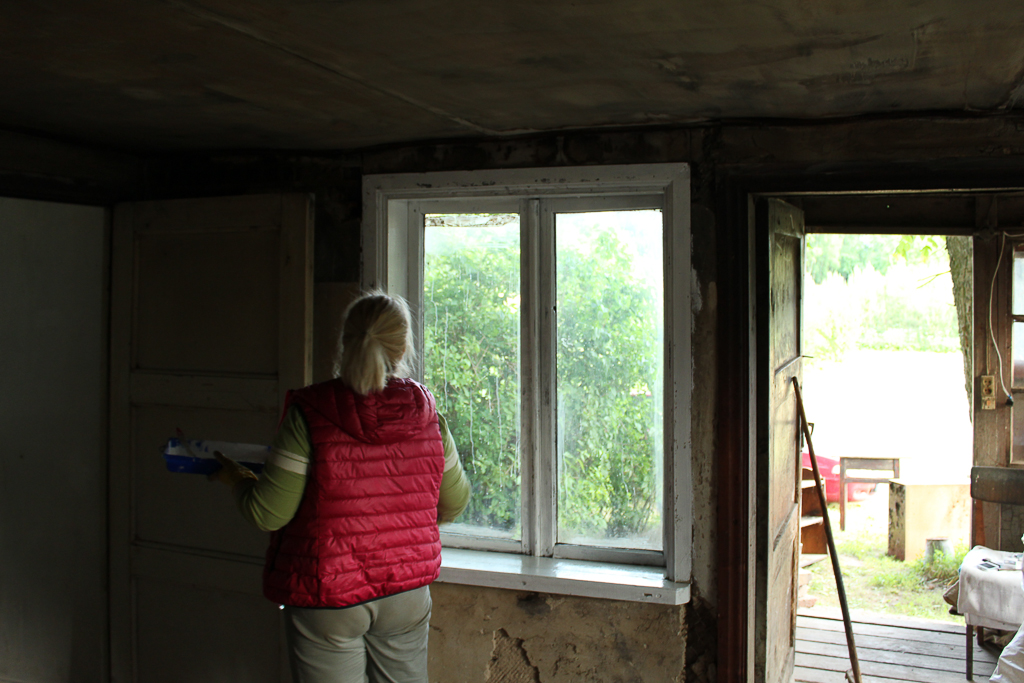
Painting windows
You can achieve tremendous effect by just painting your wooden windows.
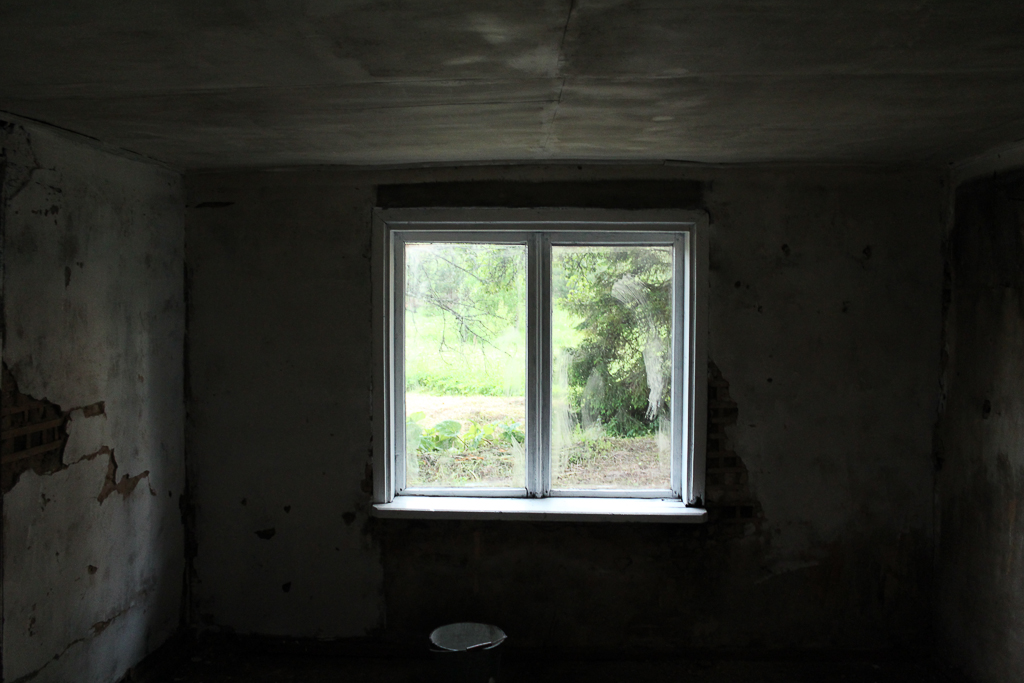
Adding first layer of paint in our kitchen
As you can see the walls are pretty bad damaged and they ask to be fixed, thanks to the first paint layer I could actually notice those damaged parts and make a plan to fix them (more on that on some of the next home remodeling posts)
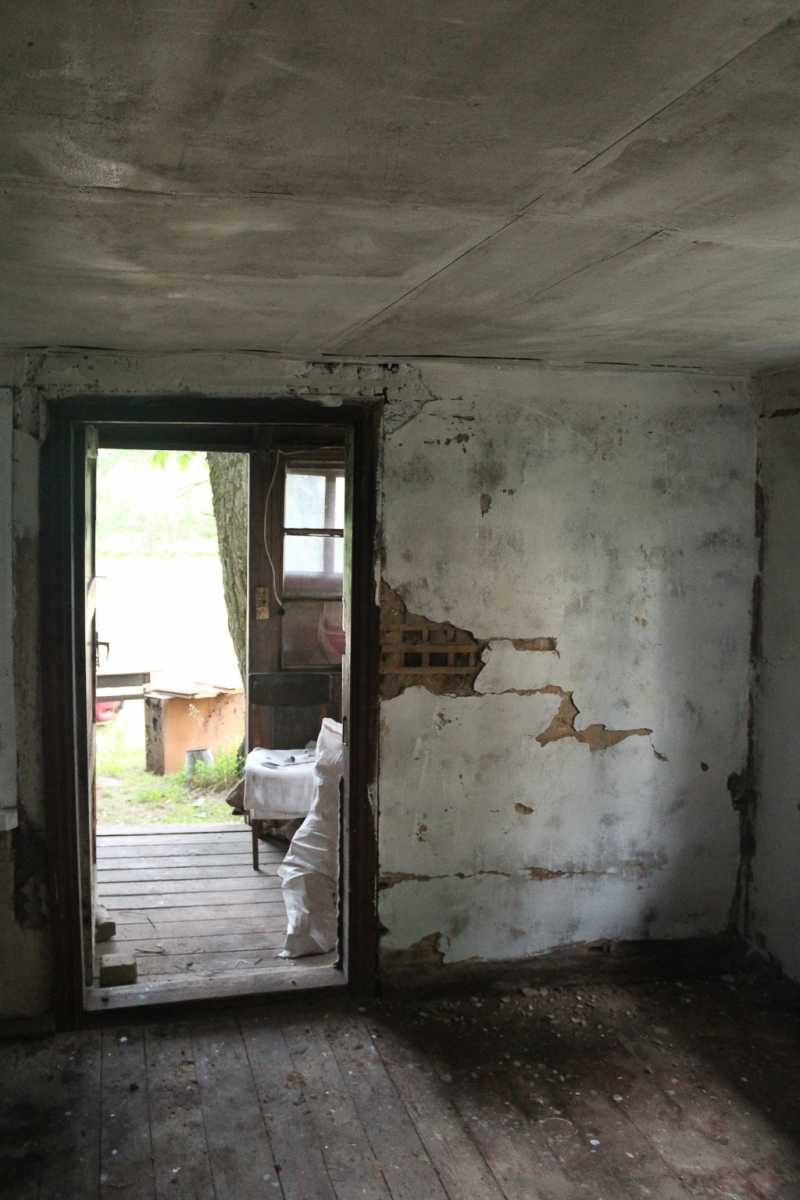
Entrance doors and white painted kitchen
The main entrance doors to the house are though the kitchen. I don't know will it stay like this, but I actually don't mind of things they are now.
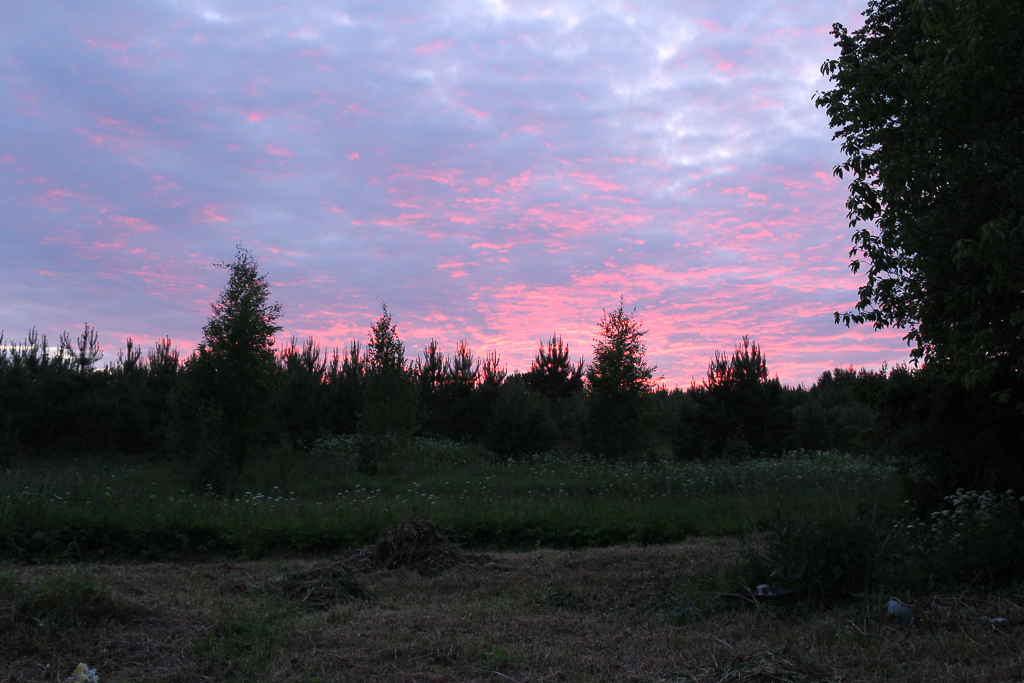
Beautiful sunset
Shot form the yard. Enjoying a lovely sunset with pink skies are just one of the few benefits owning an old rural house.
As you can see grass fight soon will be won as well. The constructions works are in full swing. No way to look back.
Coming up - fixing those holes in walls and painting floors.