In this post you will learn how to carve a pumpkin and prepare it for a good photography. Let's call this digital photography school tutorial - a pumpkin photo session.
Tools you will need: a pumpkin, sharp knife, a marker, candles a DSLR camera and a tripod (for photography)
For a pumpkin I visited local Tbilisi market and bought one for 2 GEL (~0.6$)
Let's start with carving that pumpkin:
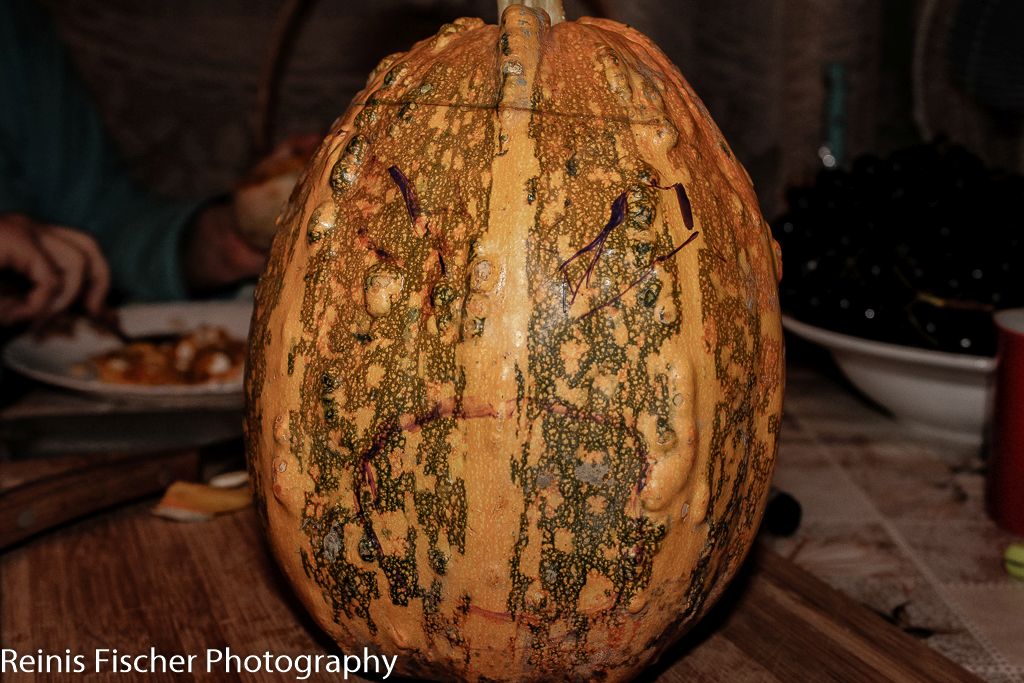
Use a marker to draw up lines on the pumpkin
You can use some trafaret or you can just draw by hand. I prefer doing it by hand (although have never tried using a trafaret yet)
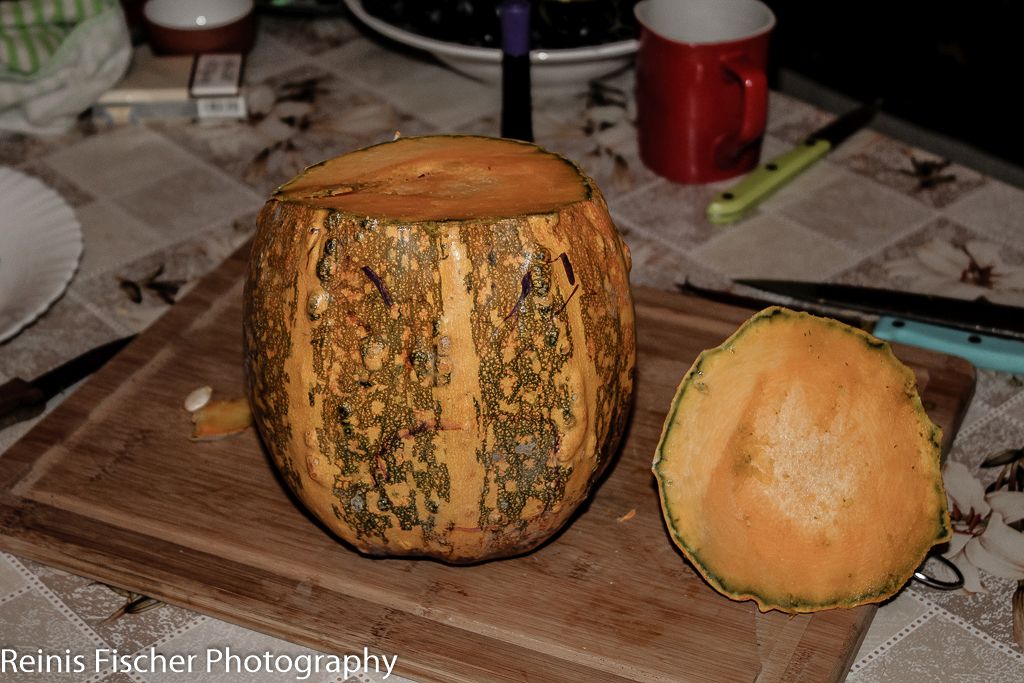
Cutting of the top
Start with cutting of the top of your pumpkin, so you can scoop out the flesh
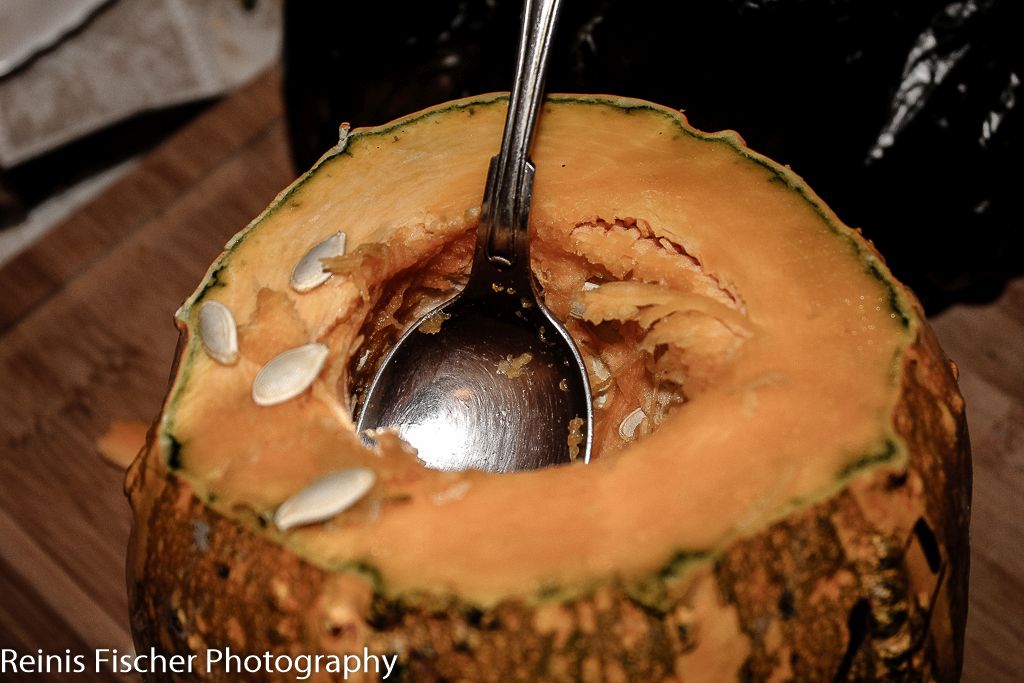
Use a regular table spoon for removing the flesh

Use a sharp knife for cutting out the lines
Since I love to cook I have plenty of knives available, if you don't have a super sharp kitchen knife you can use any regular cutting knife, but be extra cautious

Shape up the lines
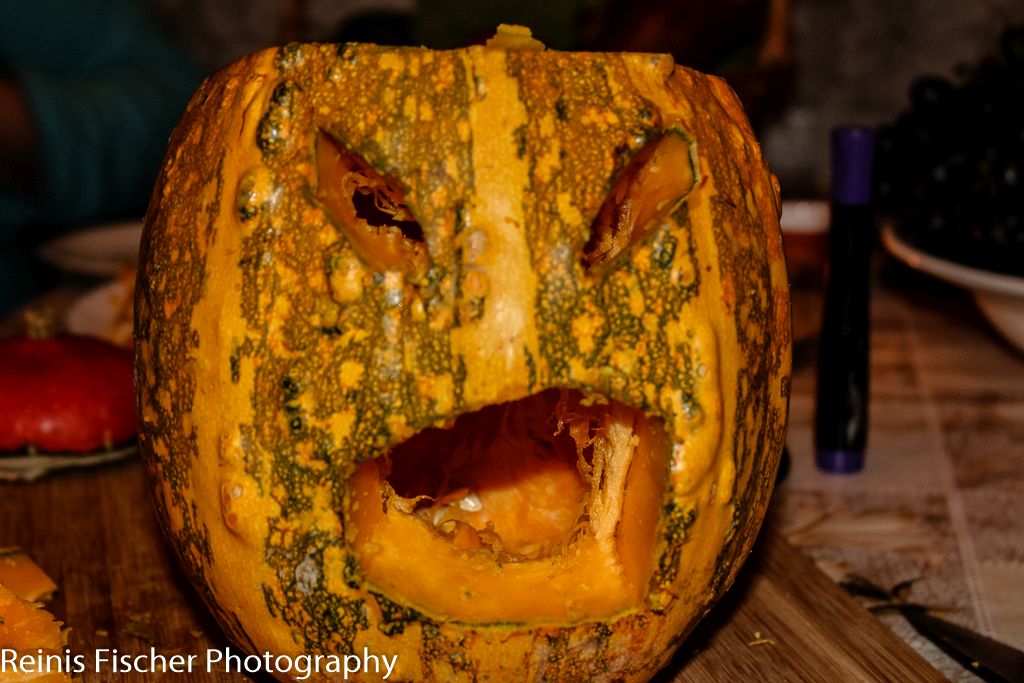
Carving Halloween pumpkin
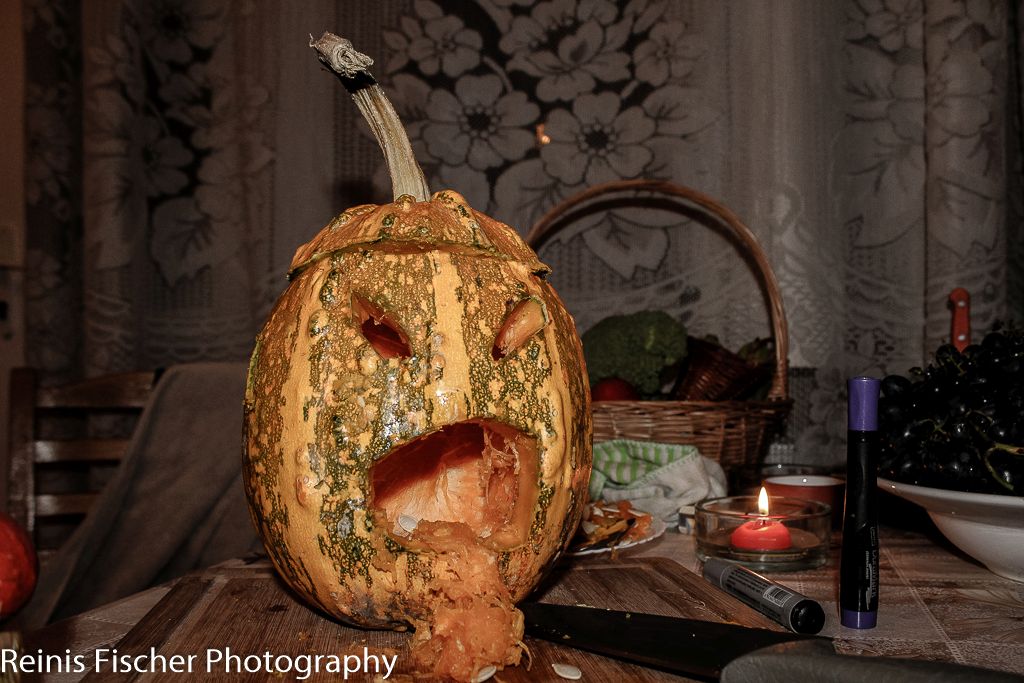
Use flesh to make it look more scary
Halloween Pumpkin Photography
Now it's time to setup a tripod and make Halloween pumpkin photography. I decided to go dark. For camera settings I entered Manual mode and experimented with f5.6 and f11... ISO 100 (I'm shooting on tripod), exposure between 0.3 - 30 seconds. Test for yourself.
For photo editing I used Adobe Lightrooms, but you can create stunning photos using just your camera.
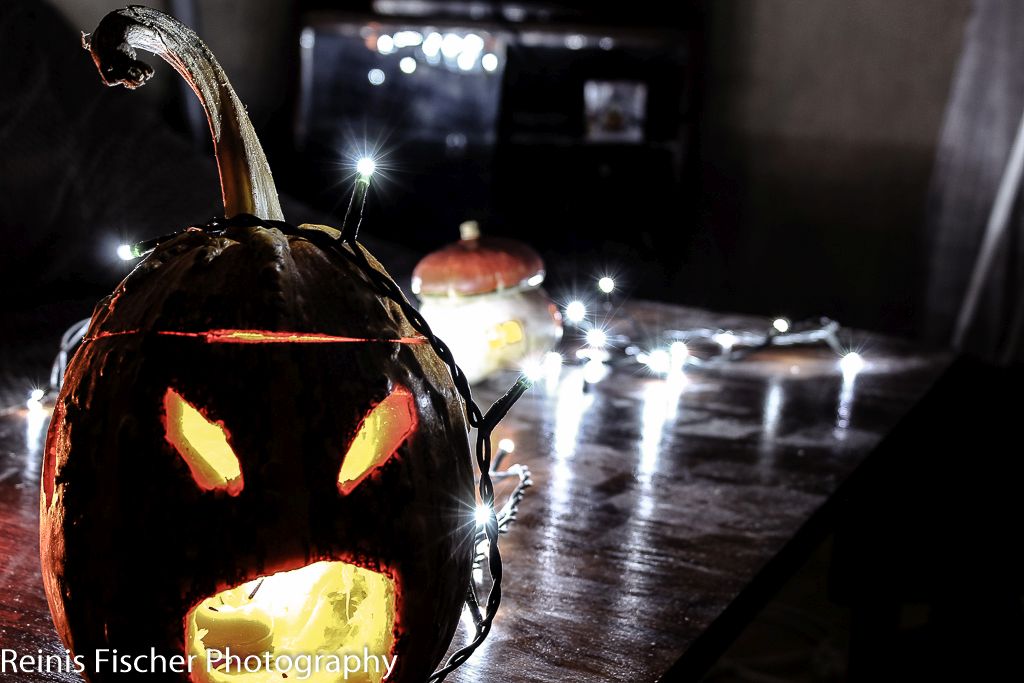
Halloween pumpkin photography
I took my DSLR camera, installed it on tripod and started to experiment. This year I found Christmas tree light diodes working best for my photography.
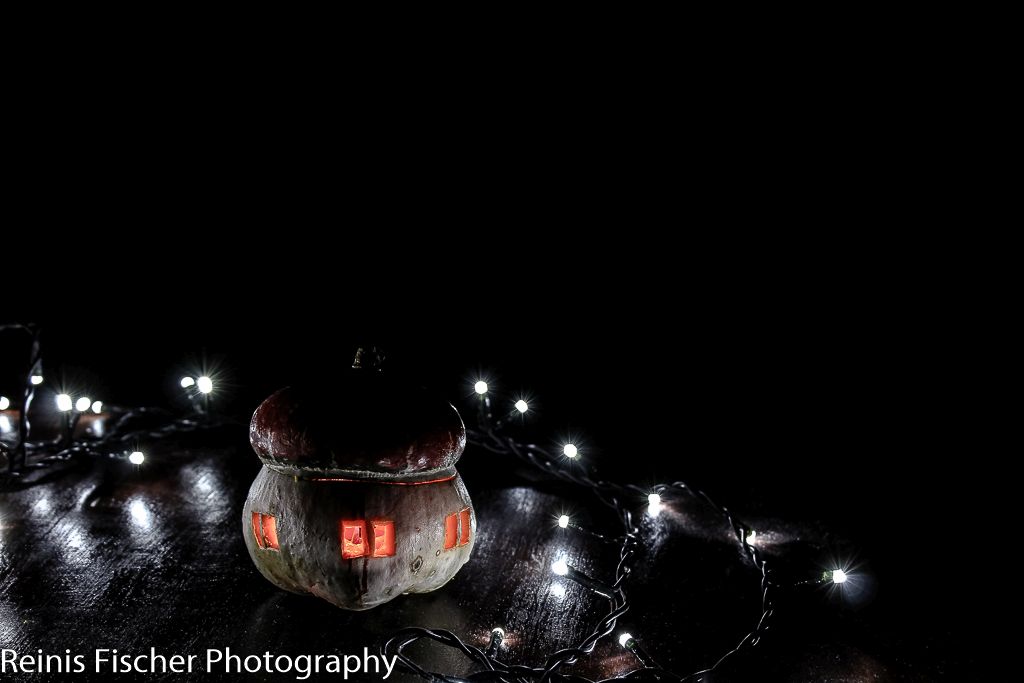
A pumpkin house photography
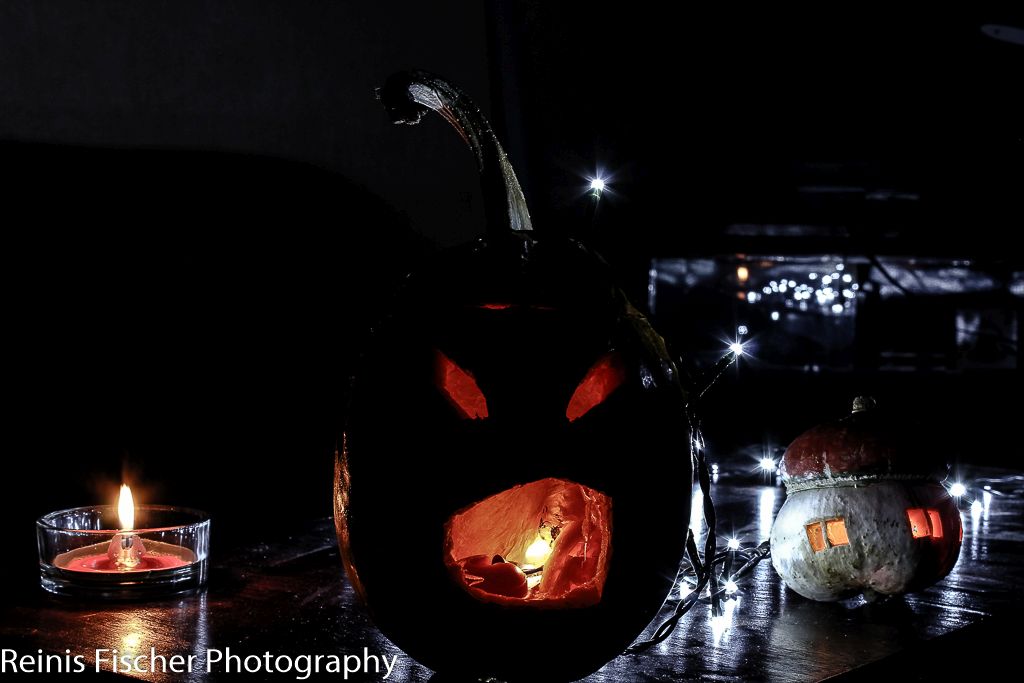
Halloween pumpkin photography 2015
Hope you enjoyed this simple Halloween pumpkin carving and photography tutorial. Make sure you check other digital photography school tutorials as well. I would only appreciate if you would follow me on Flickr as well.
Have a spooky Halloween!