By default Drupal offers 3 image styles enabled: thumbnail, medium, large:

Image styles can be applied to images we are using in views, and not always 3 default options are enough.

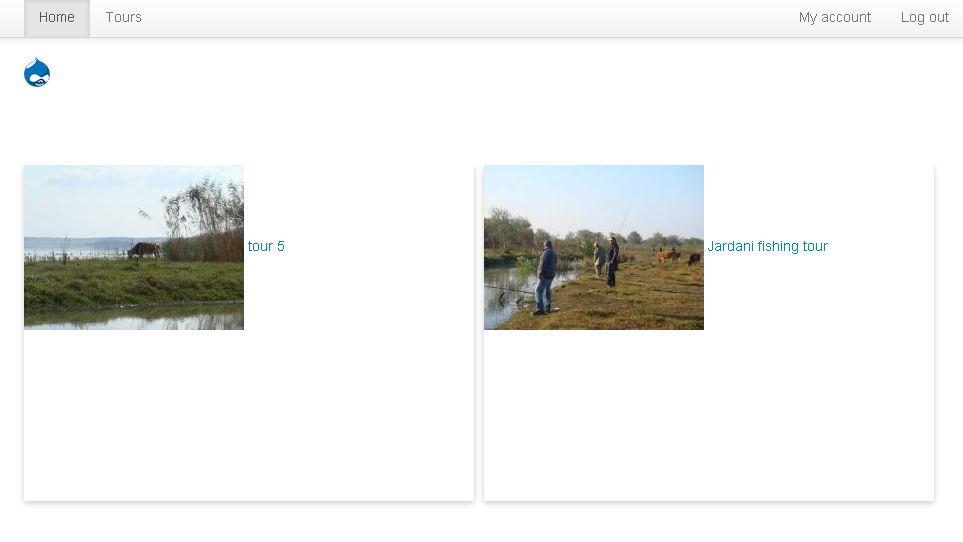
In the image above, you can see, we have passed some default image styles in our Featured tours view. What are the options to make the images fit the box? Well, we could use Some CSS techniques, but we can use image styles options from Drupal, right?
So I'm gonna create a new image style, called grid2:
- Go to admin/config/media/image-styles
- Click Add style
- Give it a name, in my case grid2
- In the next windows after pressing create style, scroll down for the Effect section
- From the dropdown menu choose and select Scale and crop, and press Add
- Enter dimensions from your new image style (I'm gonna use 450X220
- Save
By now we have created a new image-style, so how could we apply this to our view?
Go to the view, containing image field, open image field, in section image style change style to newly created, apply style, and save the view.
Now let's see how or Featured tours block looks like on our frontpage
Much better, don't you agree?
In conclusion I would like to point that, you must carefully plan what style and dimensions pictures you would like to have on your site, and stick with some 4-5 versions. There is really no need to make a new image style for each and seperate view.
Speaking about this web page I'm using in these Drupal build your site from scratch series, I plan to use 4 styles. Grid2 (for front page Featured tours), Grid3 (for tours page) Grid4 (to list 4 images in box) and a Large (to display images on posts)
Hope you are enjoing these Drupal series, please feel free to
contact me, or leave a comments bellow.
